How to Make a Toy Camera
By: Highlights Editorial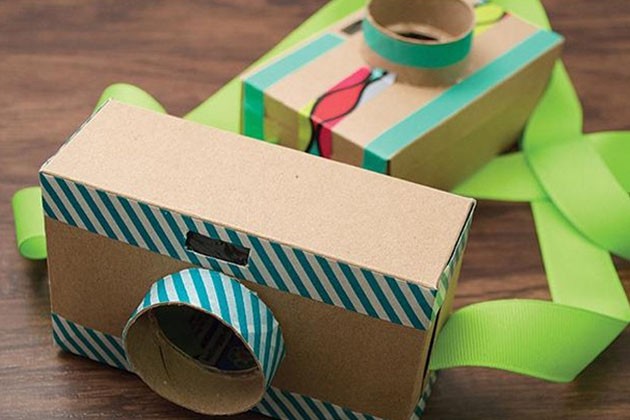
Calling all shutterbugs! This toy camera is easy to make, and it's perfect for little ones who aren’t quite ready for the real thing. This craft is sure to spark lots of engaging conversations and creative play.
What You'll Need
What to Do
-
Cut a 2-inch section from a cardboard tube and glue it to the center of the box to make a camera lens.
-
Cover the camera and camera lens with washi tape.
-
Cut a small rectangular hole above the lens on the front of the box. Then cut out a rectangular hole in the same spot on the back of the box to create a viewfinder.
-
Tape plastic wrap over the two holes to cover.
-
On the sides of the box, glue the ends of a ribbon long enough to use as a shoulder strap.
Younger kids: This is a great toy for the dramatic play corner at home. Your child can “take photos” or sling the camera around their neck as they wait to capture the right moment. You can also explore various photos by looking in a newspaper, magazine or book.
Older kids: Decorations are great for reflecting your child’s interests and passions. Encourage your child to make this camera and display it in their room as a symbol of their interest in photography. Place it in a shadow box with a background of some of their favorite photos, and it becomes homemade art that they can proudly display.
For more crafts like this one, check out The Highlights Book of Things to Do. You may never hear “I’m bored” again!

